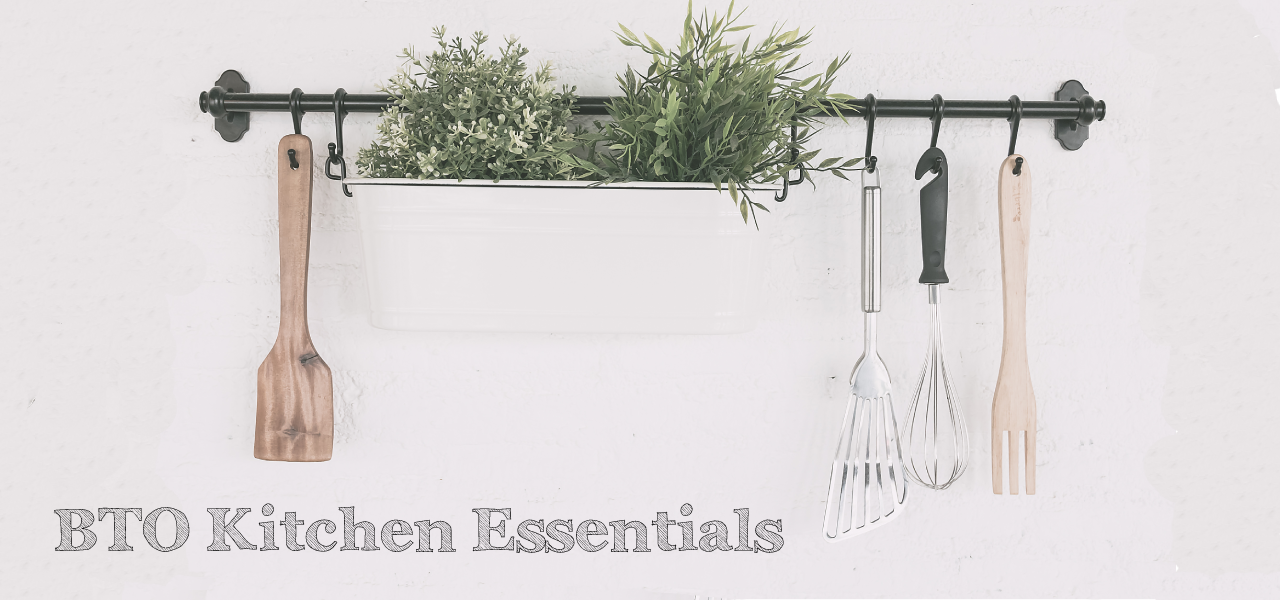
Chefs Favorite Kitchen Tools
There are plenty of kitchen tools that make a chef’s life immeasurably easier. We caught up with some of our favorite chefs to get their recommendations on the kitchen gadgets they swear by. Here are some of the answers we recieved!
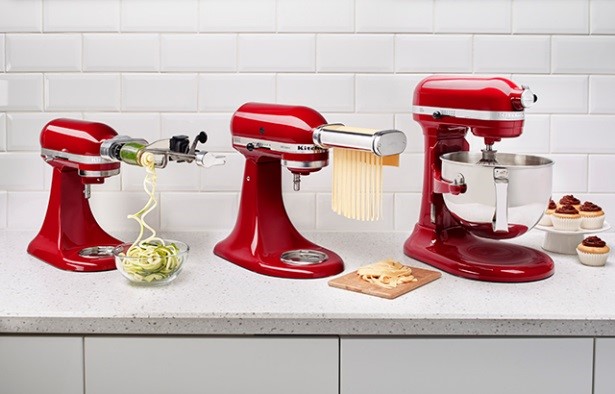
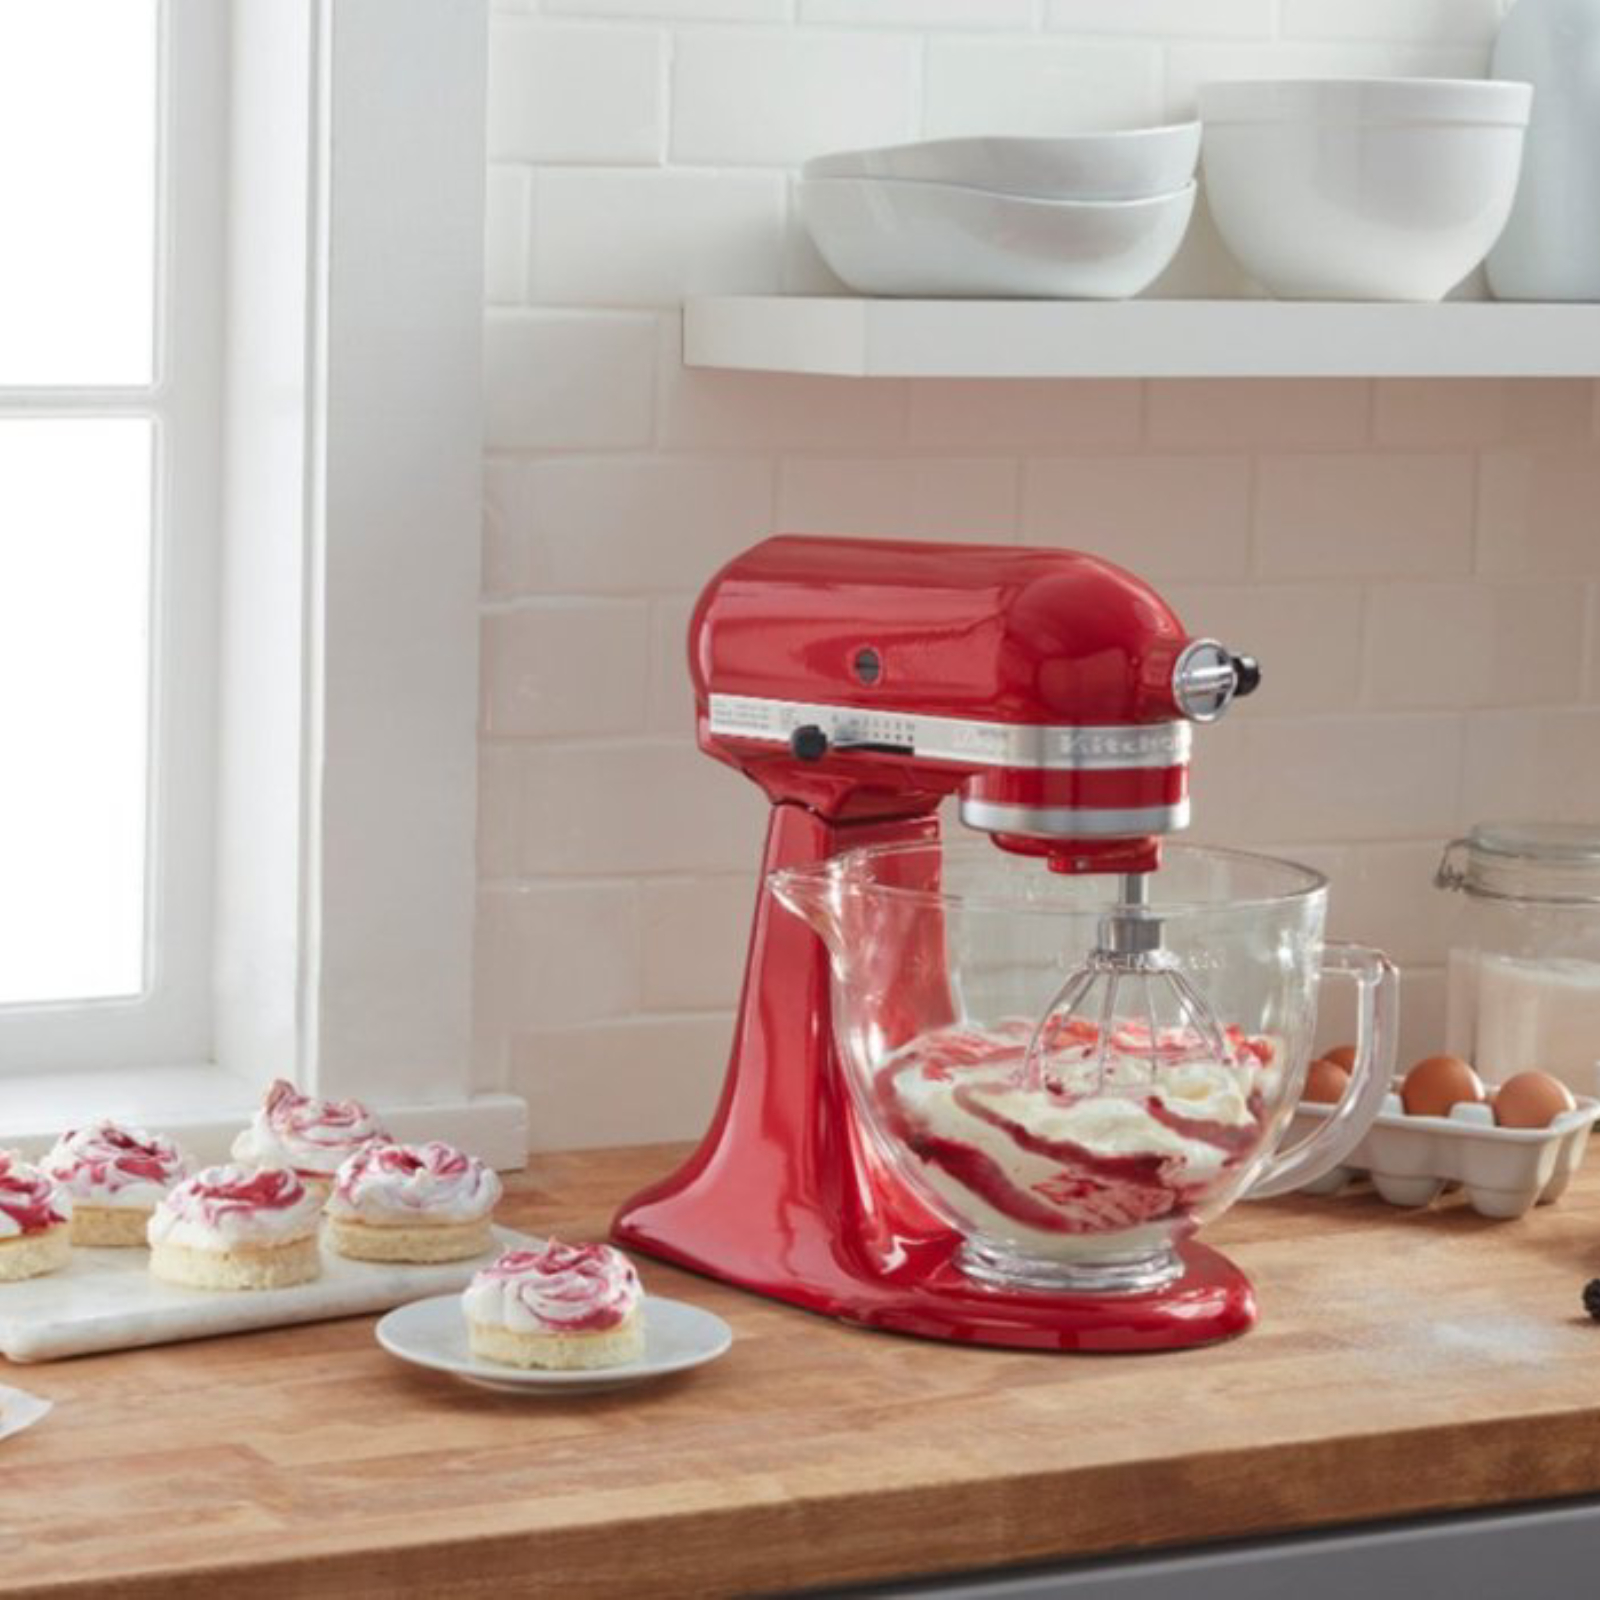
1. Kitchen Aid Artisan Stand Mixer 4.8L
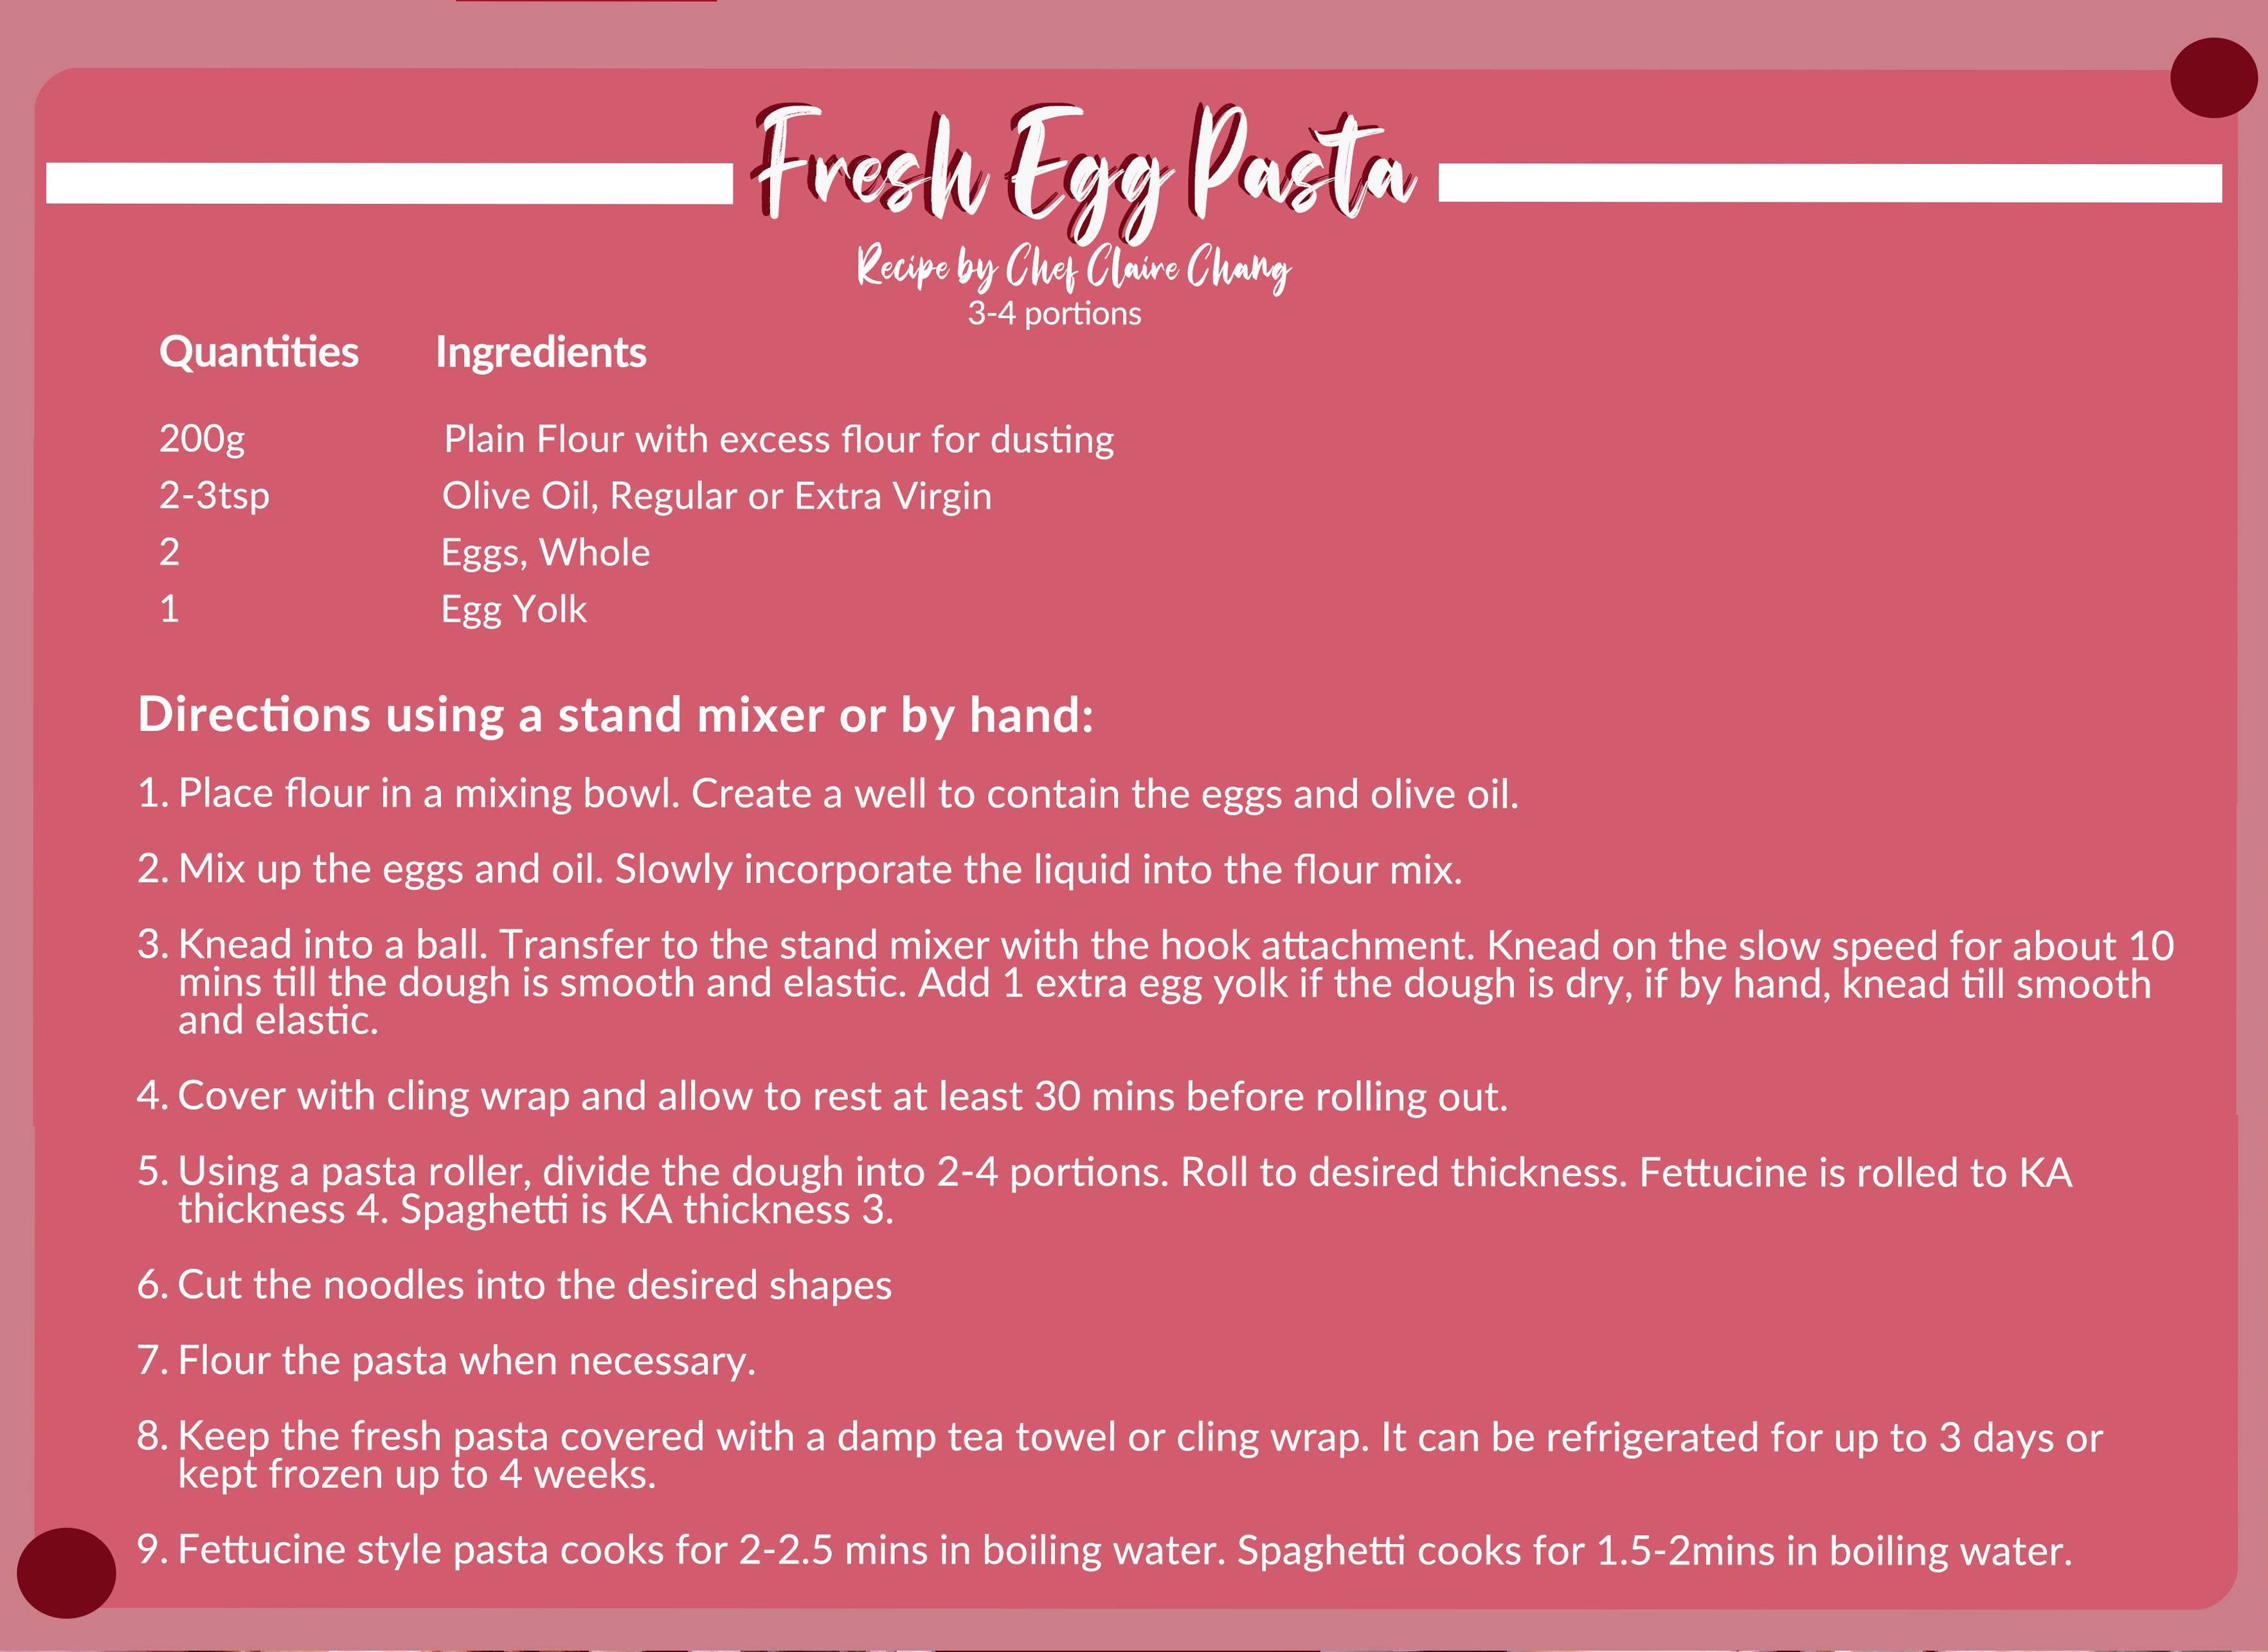
“I bake very often for my family and friends. With the Kitchenaid, it makes it so easy to make the cake batter, cookie dough and even knead bread. I enjoy making fresh egg pasta at home. My family especially my little girl loves spaghetti. The taste and texture of fresh egg pasta are just so delicious.” – Chef Claire Chang
Easily make your favorite cakes and multiple batches of cookie dough with the 4.8 L stainless steel mixing bowl without compromising on your kitchen counter space. A wide range of optional accessories turns your Artisan Stand Mixer into a true kitchen aid. Simply attach them to the mixer through the single attachment hub and you can grind meat, make, roll or cut pasta. Choose from a range of appealing colours to perfectly match your kitchen.
Available at ToTT stores from $599.
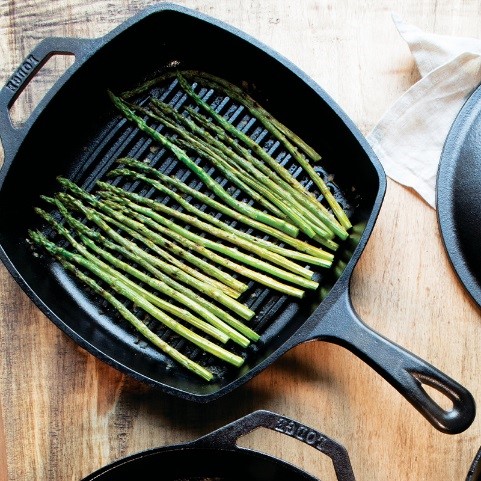
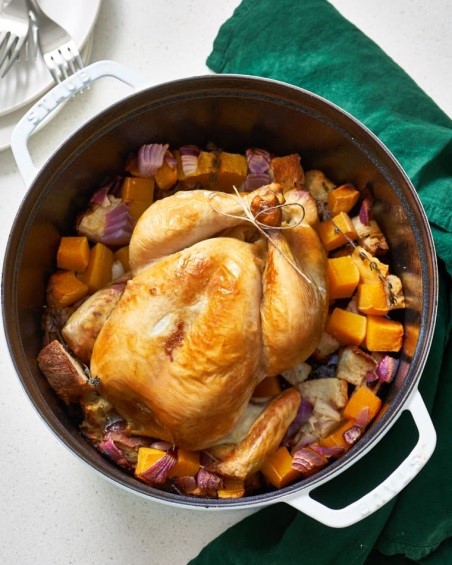
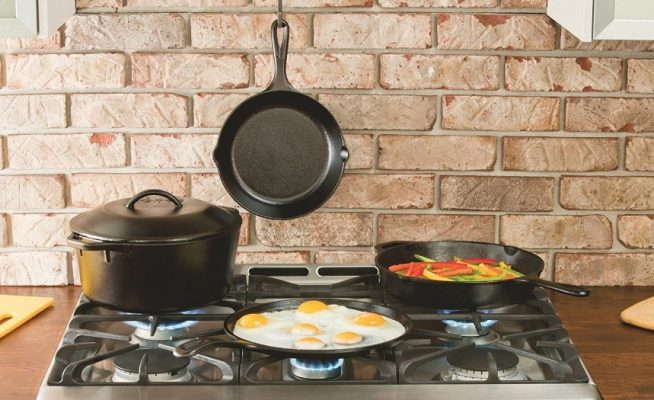
2. Lodge Square Cast Iron Grill Pan
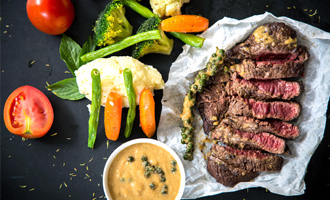
Grill steaks, chicken breasts or pan-sear seafood in this pre-seasoned cast iron pan from Lodge. It has high sides so splatters are kept to a minimum and the ribbed surface allows fat to drain from food while also searing tantalizing grill marks onto your food. Ergonomic handles make a safe transfer from cooktop to the table. Made of even heating and superior heat-retaining cast iron, this is a pan that improves with every use.
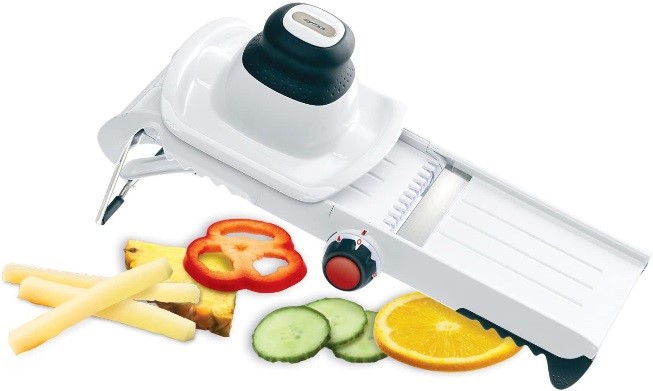
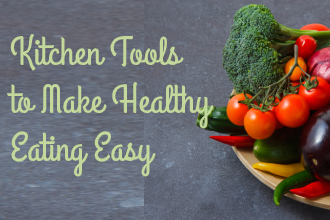
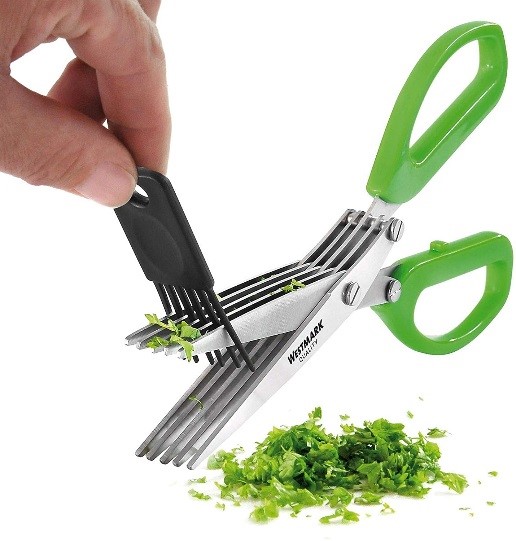
3. Zyliss Easyslice Folding Mandonline
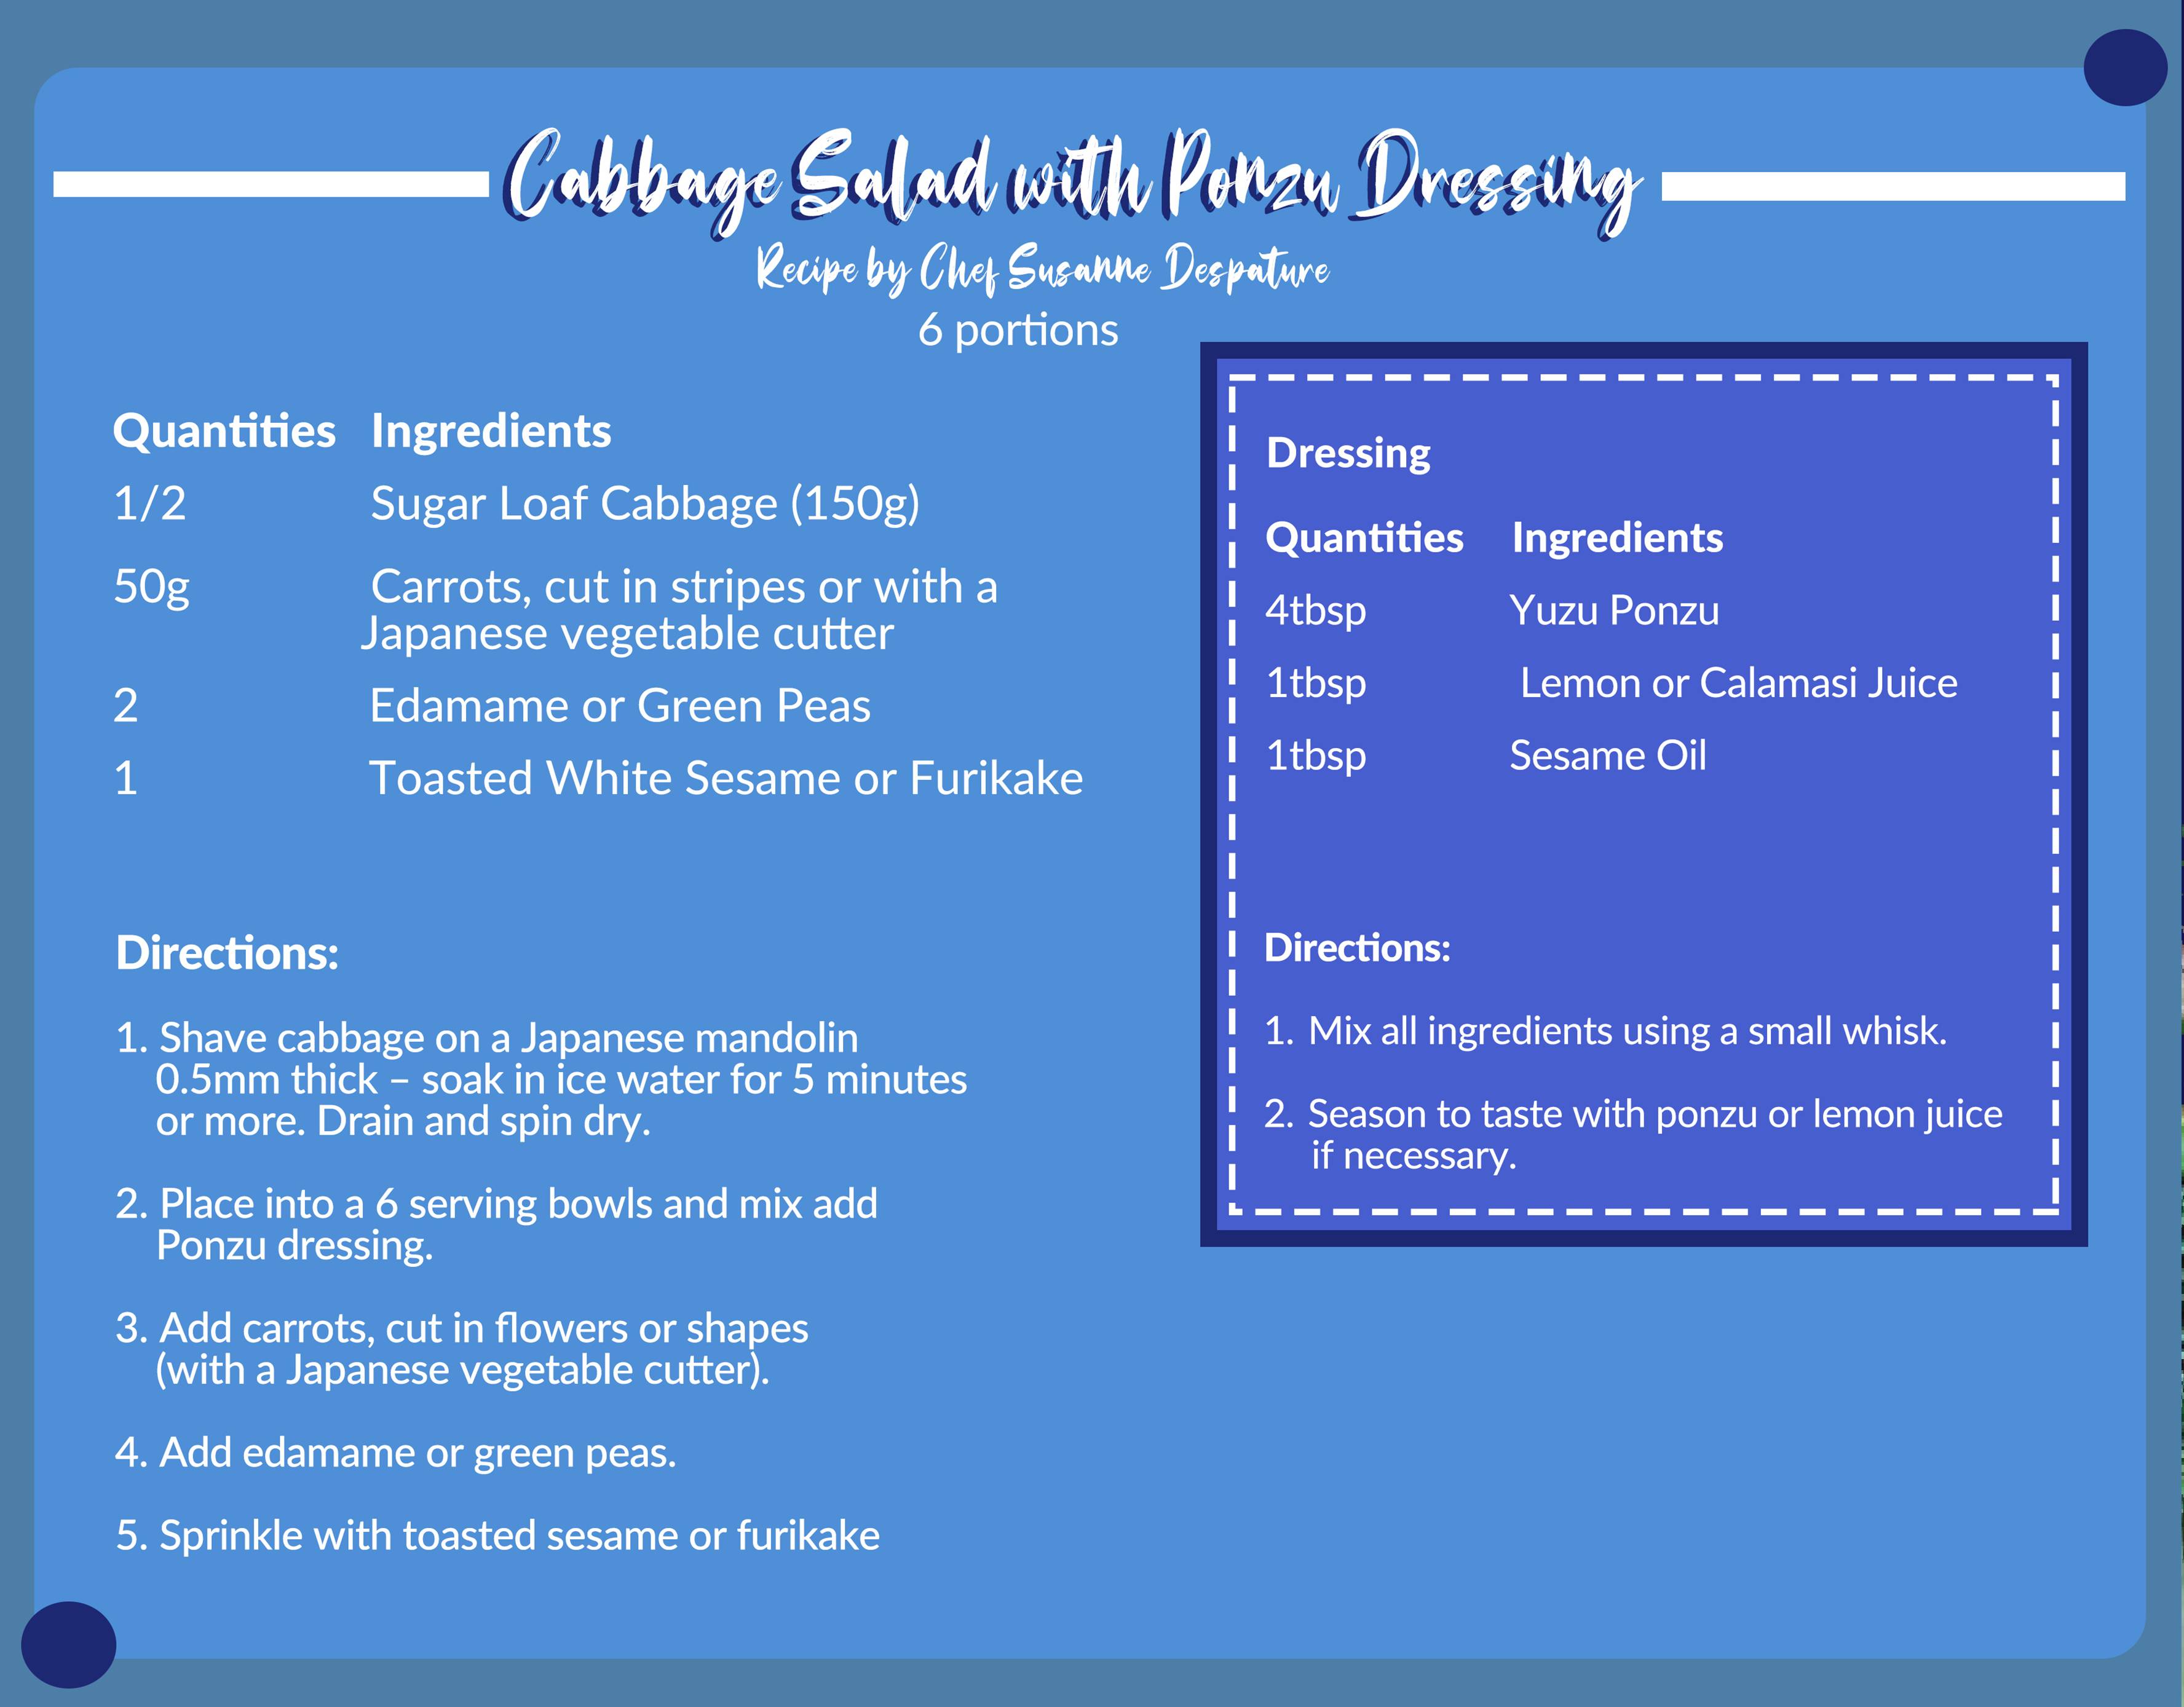
“I really LOVE this tool, because it’s razor-sharp, it has five different thickness and it’s so easy to handle, wash and store! I use the mandoline every day to slice vegetables like carrots, cucumbers, cabbage or radish to prepare my salads.”– Chef Susanne Despature
Conveniently slice vegetables and fruits into the uniform thickness you desire with ease through the high grade stainless steel blades.The easy to use dial makes alternating between functions and slicing sizes easy and intuitive. The product is ergonomically adapted to body posture and range of motion so that the user will feel as if the tool were an extension of his/her own hand. The non-skid rubber feet ensure the mandoline remains steady on the kitchen bench during use.
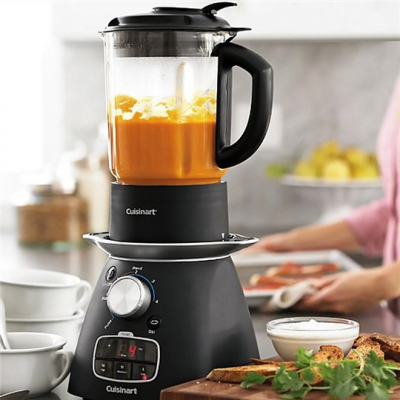
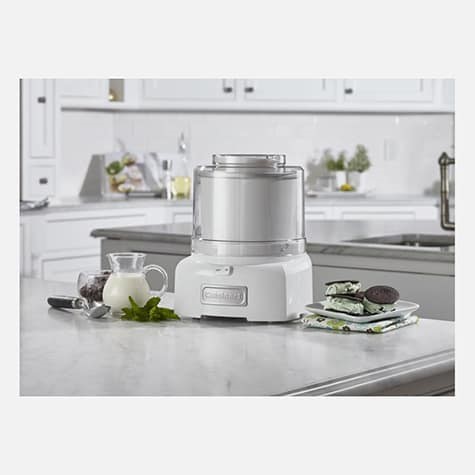
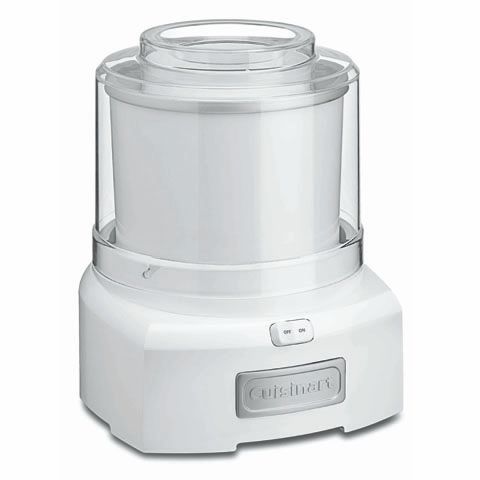
4. Cuisinart Hot & Cold Blender
If smoothies are part of your morning ritual or you love homemade soups, this innovative blender is perfect for you! Make soups, dressings, purees, sauces, smoothies, cocktails and even crushing ice with this nifty machine. Sauté, cook, stir, simmer and blend without the need for extra pots and pans, and no messy transfers from pan to blender. Create your own fresh, healthy soup from start to finish in just 20 minutes with a touch of a button, you can add desired ingredients anytime during the cooking process.