Sprucing Up Your Kitchen for Chinese New Year

Chinese New Year is a time for family gatherings, sumptuous feasts, and the beginning of a fresh new chapter. As we prepare to usher in the Year of the Snake, many households take the opportunity to give their kitchens a much-needed facelift. After all, the kitchen is the heart of any celebration, especially during the festive season. If you’re looking for ways to spruce up your kitchen and make it both functional and festive, ToTT Store has just what you need!
Upgrade Your Cookware for Festive Feasts
No Chinese New Year celebration is complete without a table brimming with delicacies. Investing in quality cookware can make your preparation smoother and more enjoyable.
- Safico Woks and Pans: Perfect for stir-frying your family’s favorite dishes, from fragrant garlic prawns to savory stir-fried noodles. These durable pans ensure even heat distribution for restaurant-quality results.
- Lava Cast Iron Casseroles: Ideal for slow-cooked delicacies like pencai, braised pork belly or nourishing soups, Lava casseroles are both functional and aesthetically pleasing.

Essential Prep Tools
Make your food preparation more efficient with these must-have tools:
- Benriner Turning Slicer: Effortlessly elevate your Yu Sheng preparation this Chinese New Year with the Benriner Turning Slicer! Designed to make slicing fruits and vegetables a breeze, it ensures consistently sized, professional-looking pieces that are perfect for festive presentations
- Zyliss Swift Dry Salad Spinner: Keep your greens fresh and crisp with this efficient salad spinner. Ideal for washing and drying vegetables, it’s perfect for prepping fresh ingredients for your Chinese New Year dishes.

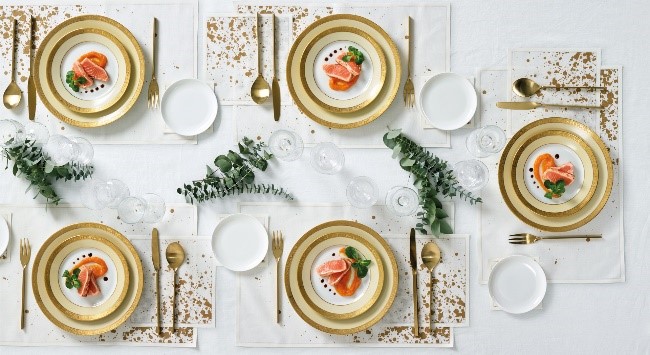
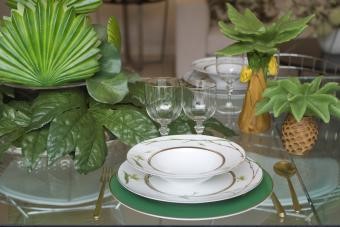
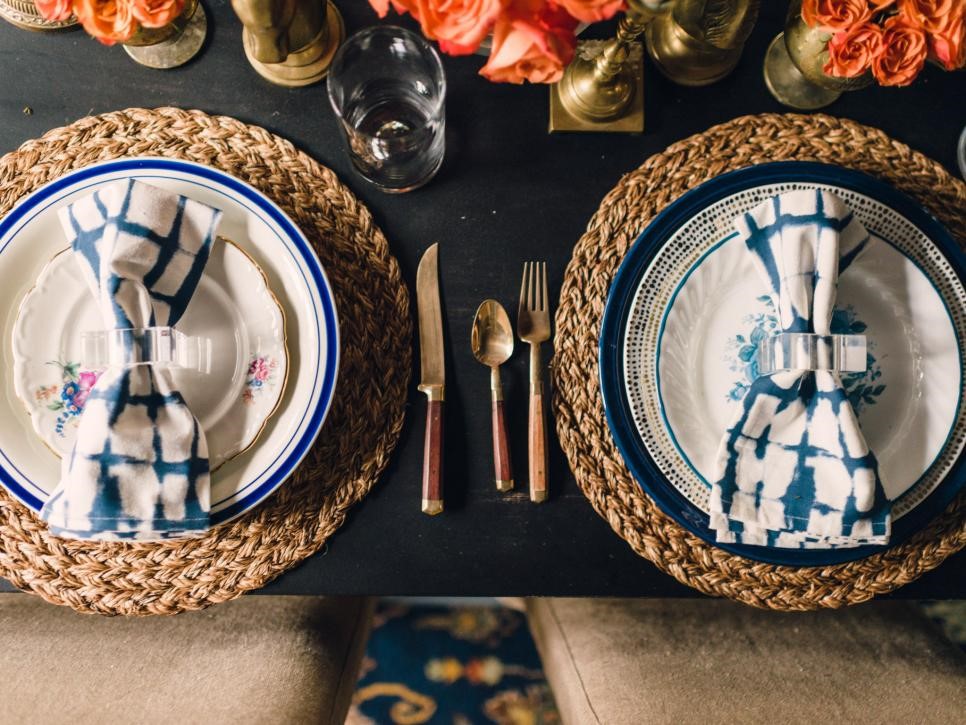
Add Festive Touches with Serveware
Presentation matters, especially during the Chinese New Year, when we’re showcasing prosperity and abundance.
- Lohei / Yusheng Platter: Elevate your dining experience with a stylish and functional platter that’s perfect for serving Yusheng, a must-have dish for Chinese New Year.
- Rooster Series Tableware: Celebrate the season with vibrant tableware featuring traditional rooster motifs, symbolizing luck and prosperity. These pieces add a festive and culturally rich touch to your dining table.
- Chopsticks with goldfish cap: A delightful addition to your festive table, these chopsticks add a whimsical touch while embodying the spirit of good fortune.

Bake to Impress
Chinese New Year is also a time to gift homemade goodies like pineapple tarts and almond cookies.
- Cuisinart Stand Mixers: Whether you’re kneading dough for buns or whipping batter for cakes, this powerful and stylish stand mixer is a game-changer.
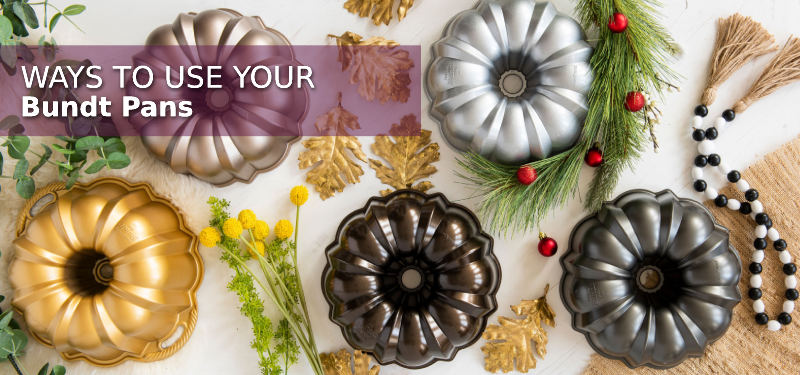
- Nordic Ware Bundt Pans:Create beautifully shaped cakes that are sure to impress your guests and add a festive flair to your desserts.

Cleaning Made Easy
After the feast, comes the cleanup. These cleaning tools can help you wrap up quickly and efficiently:
- EKO Regal Stainless Steel Dish Rack: Keep your counters tidy and dishes dry with compact racks.
- EKO Cubo Stainless Steel Step Bin: A sleek and hygienic solution for managing waste during and after your celebrations.

A well-equipped and organized kitchen sets the tone for a smooth and joyful Chinese New Year celebration. Visit TOTT Store to find everything you need to refresh your kitchen and start the year on a high note. From cookware to serveware, baking tools to cleaning supplies, TOTT Store has got you covered.
Here’s to a prosperous and delicious Year of the Snake!