Guide to Place Setting for a Formal Dinner
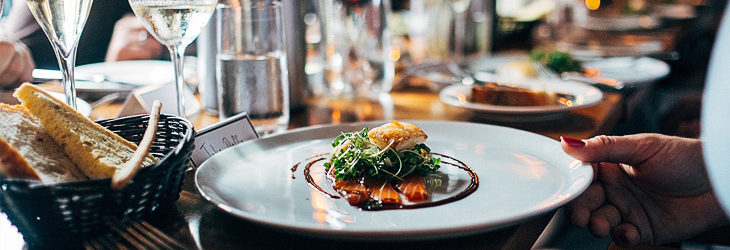
Formal dining settings are usually done with such opulence and grandeur that few would dare try at home; the thought of setting up an entire formal dinner at home without professionals can be quite daunting if you don’t know where to begin! Fret not, setting for a formal dinner can be done easily with the right cutlery and fine china. Knowledge of the correct position of all the flatware would also ease the process of setting the table right. Here are some tips on how to host the perfect formal dinner at home effortlessly!
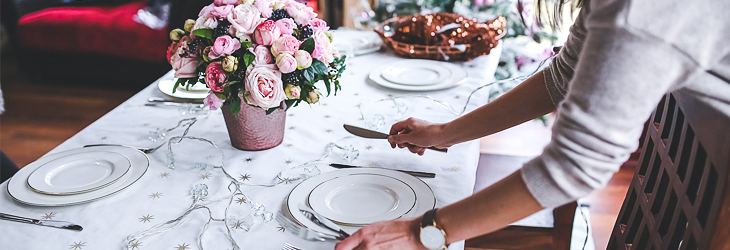
Table Setting
This will set the tone for your guests, so it is important that the details are immaculately cared for. Firstly, continental flatware is commonly used for formal dining. There are numerous themes of flatware including artistic, modern or classic which can be a reflection of the host. Choose the theme which matches the ambience you intend to portray to your guests to enhance their entire experience. Keep in mind that your menu will also affect the kind of flatware. For example, if seafood is on the menu, specialized flatware should be present in your setting.
Here is a basic illustration of how a formal table setting for dinner should look like:
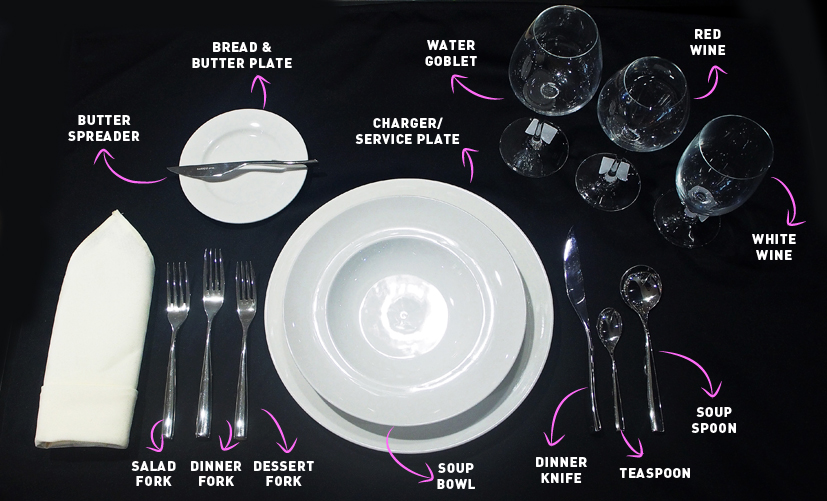
*All items featured above can be found at ToTT Store.
Napkin: Can be folded at the side or creatively folded on the dinner plate. Napkin rings can be used as well.
Forks: The fork that is used for the earliest course should be placed furthest from the dinner plate. All flatware should be positioned one inch from the edge of the table.
Spoons and Knives: Positioned similarly to the forks, the outermost ones are for starters and guests will work their way in as the courses proceed.
Charger or Service Plate: This plate is only for decorative purposes and the actual dinner/dining plates will be served on this plate.
Wine glasses: All drinking glasses to be used for the meal should be set before the dinner starts. The water goblet should be placed right above the knife, and the wine glasses should be lined in order in which they will be used.
Maintenance of Flatware
After acquiring all the items you need for your formal dinner, it is important that your flatware are polished and glassware pristine. For convenience, get all your cutlery and glasses with a dishwashing friendly logo. Even after washing, double check to see for any minute stains before presenting on the table. Aside from flatware, fresh and ironed linens are important as well.
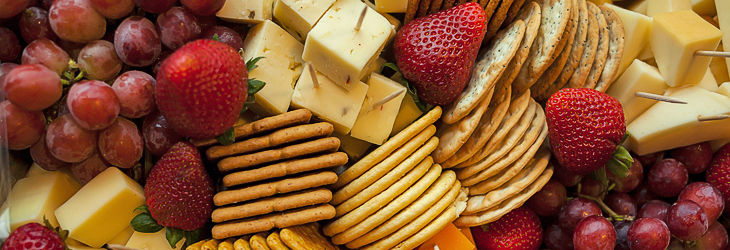
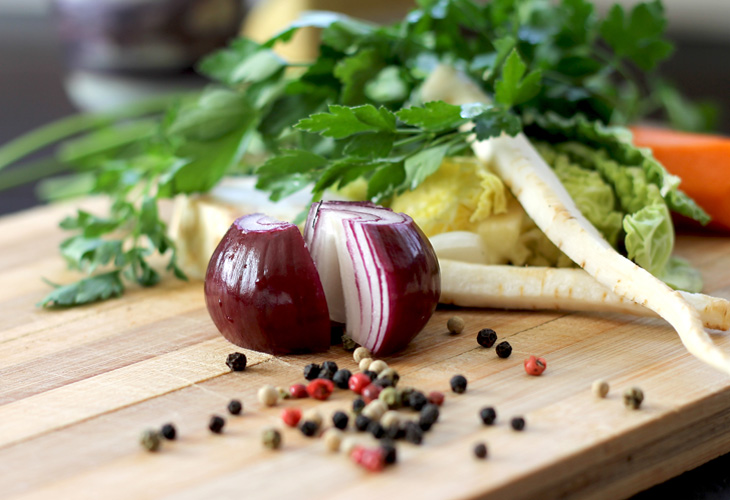
Menu
The key to a perfect formal dinner lies in its simplicity and elegance. While it is easy to come up with extravagant ways of cooking, do take into consideration the capacity of your kitchen while planning how to execute the menu. For example, if you have one oven, it might be better to prepare only one dish that requires the use of the oven. Refrain from focusing on only one type of cooking method as this will allow you to continue cooking the other dishes smoothly and not be bottlenecked by one piece of equipment. Cooking methods such as sautéing, steaming and double-boiling can produce plenty of creative dishes! Countertop spaces in most kitchens are limited – do plan your prep time for all dishes accordingly and avoid cluttering precious space.
We hope these tips will help you in your next formal dinner party! Most importantly, remember to enjoy your guests’ company and relax after putting in all that hard work!