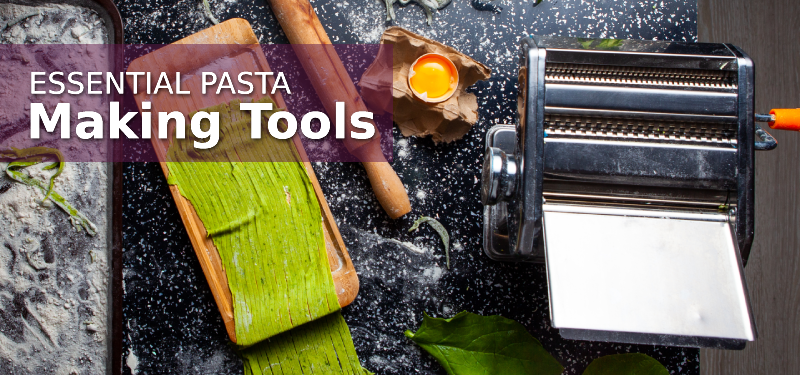
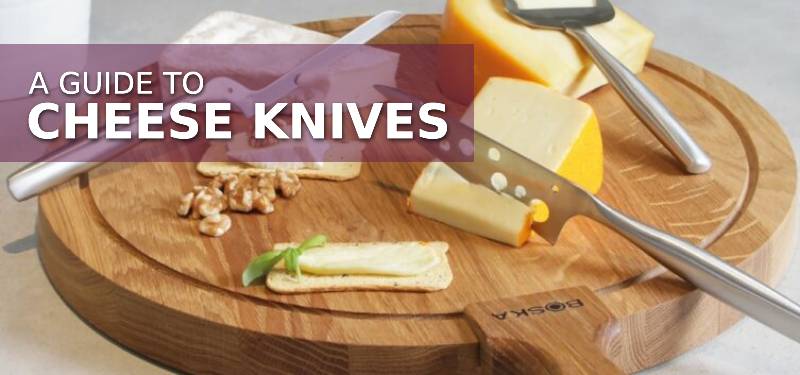
A Guide to Bread Making Tools
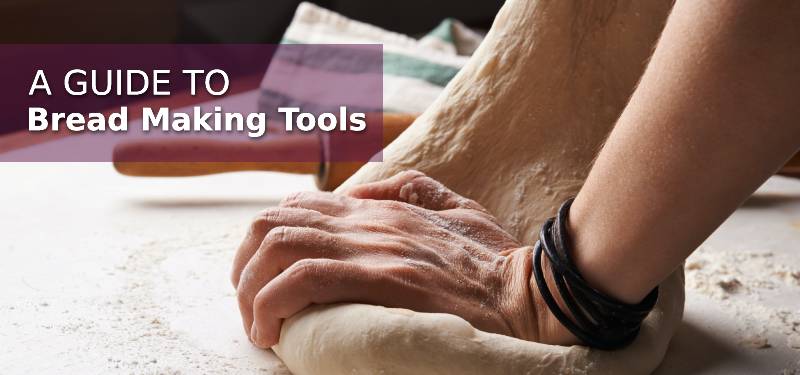
Baking bread is relatively simple: Combine flour, water, yeast, and salt, proof it, pop it in the oven, and—voilà!— your very own homemade loaf. You might already have certain bread-making tools such as mixing bowls, measuring jugs and rolling pins however bread baking speciality tools can help you bake even better! Read on to find which bread-making tools and equipment you need.
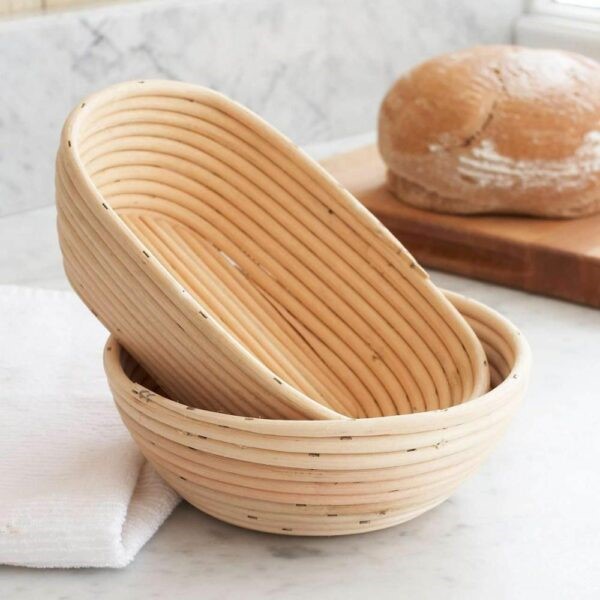
1.Bread Proofing Basket
Ever wonder how artisan bread bakers get such perfect round loaves every single time? The secret is using a proofing basket. It helps to support and keep the shape and structure through their final rise. The natural rattan also leaves an attractive spiral pattern on the dough – a homespun aesthetic touch you will love.
Tip: Before first use, spray the inside slightly with an enzyme-free releasing agent to protect the rattan, and dust with flour. The basket can be cleaned every four weeks using a brush without water. To sanitise, simply place the basket in the oven for 20 minutes at 120° -140°C.
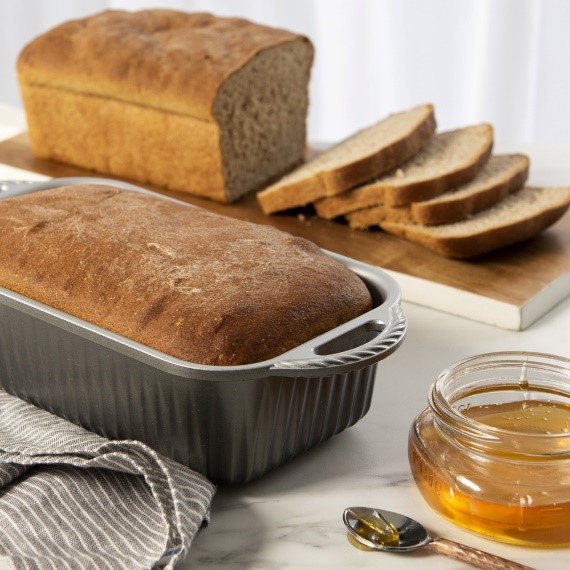
2. Cast Aluminium Loaf Pan
If you’re hoping to bake your bread into a sandwich loaf then a sturdy loaf pan is a must. These are necessary for quick breads and offer the perfect shape for a sturdy loaf bound for sandwiches. Nordic Ware Non-stick Classic Loaf Pan provides the ultimate in bread-baking perfection. This roomy loaf pan provides an even baking surface for a better rise to any bread recipe and can handle a 1 1/2-pound loaf. Its non-stick surface makes for extremely easy cleanup. Other than making quick breads, use them to make delicious marble or banana bread too!
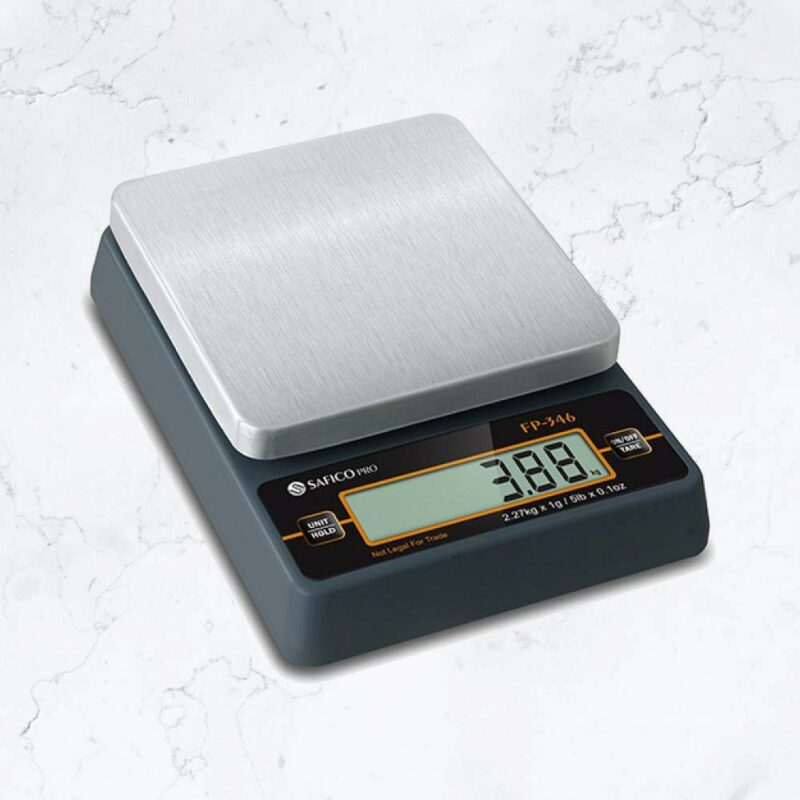
3.Digital Weighing Scale
Too much flour packed into your measuring cup can make the bread dry and crumbly. With a scale, you will know exactly how much ingredient you’re using every single time. This eliminates a lot of uncertainty right off the bat and puts you in a position to control your bread and not the other way around! Safico Pro Digital Weighing Scale is a highly accurate digital scale that features a removable stainless steel platform, an easy to read LCD screen and gives accurate and precise measurements.
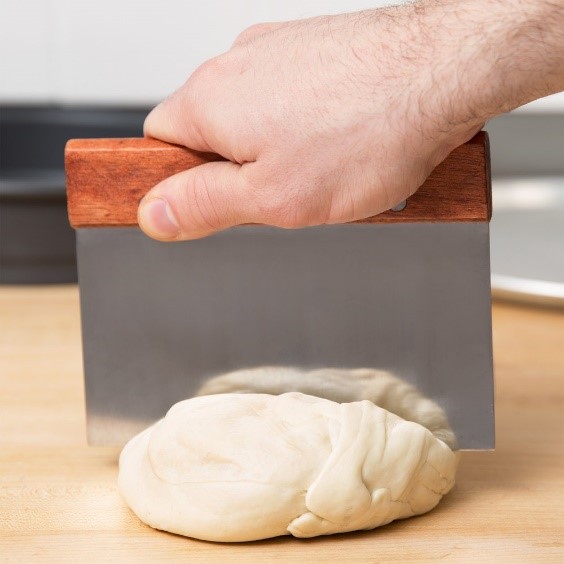
4.Bench Scraper
If you’re looking for a way to handle dough without it sticking to your hands, this essential tool is perfect for your kitchen. It’s great for scooping flour back into the dough, flipping your mixture upside down, pressing wet and dry ingredients together, cutting and portioning out dough. It can also double up as a cutting tool for other foods.
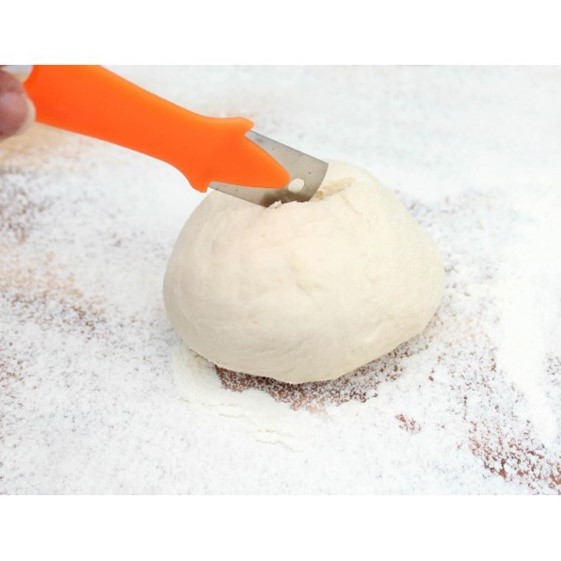
5. Bread Scorer / Baking Blade
No baker’s set of tools is complete without a high-quality bread scorer. The purpose is primarily to control the direction in which the bread will expand during “oven spring.” It can also be used decoratively to showcase a baker’s skill or indicate different bread varieties on a bakery display shelf. Score a beautifully risen dough before baking with durable Schneider Baker’s Blade. Its super-sharp razor blade will allow precision-shaped cuts on your loaves without deflating or pressing down the dough. Perfect addition for the enthusiastic bread baker.