8 Berry Recipes for Summer
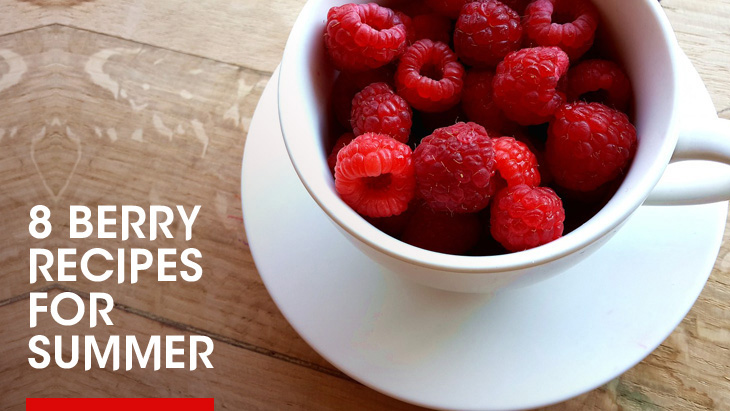
The quintessential summer fruit, berries are chock-full of anti-oxidants and a wonderful way to brighten up drinks, dessert and mains. Here are 8 of ToTT’s favourite recipes from around the web!
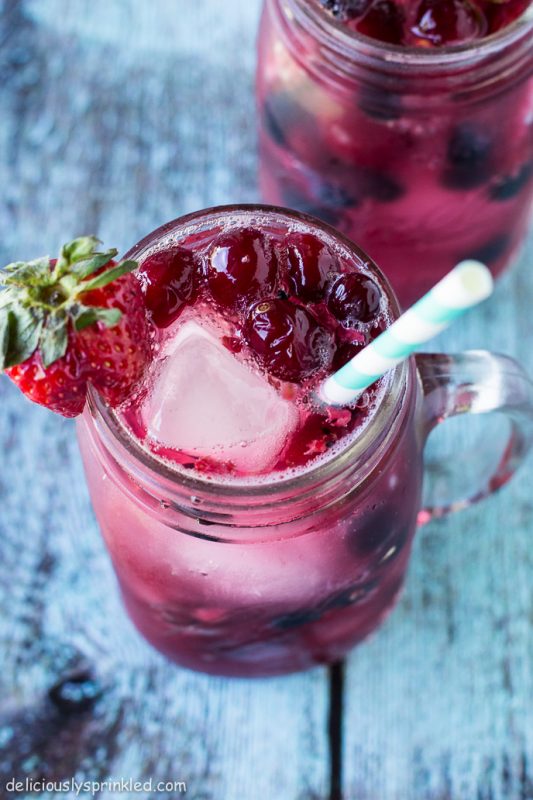
First, let’s kick things off with this tangy Very Berry Spritzer by Deliciously Sprinkled. Perfect for summer parties, this concoction combines the tartness of lemon-lime soda and sweetness of berries beautifully.
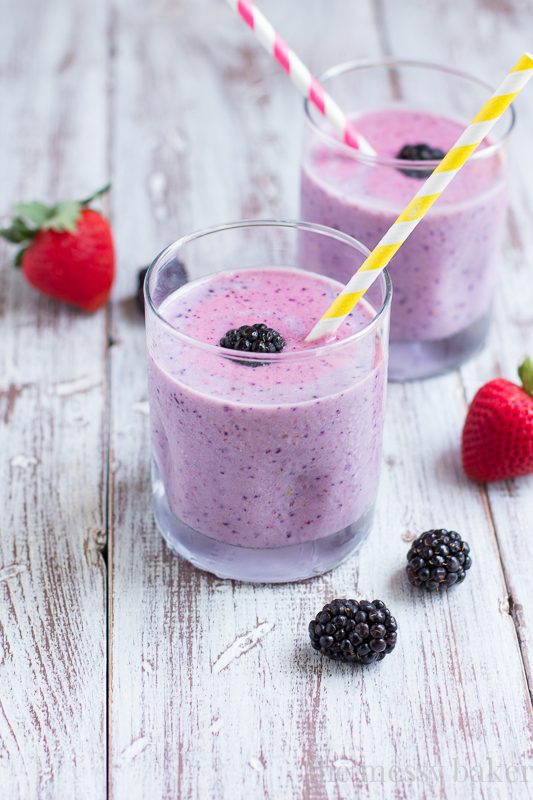
Craving for something more decadent? Look no further than The Messy Baker’s Summer Berry Smoothie. With bananas, an assortment of berries and added protein, you’re basically getting breakfast in a glass. This highly customisable recipe can also be made vegan by replacing cow’s milk with nut or soy milk.
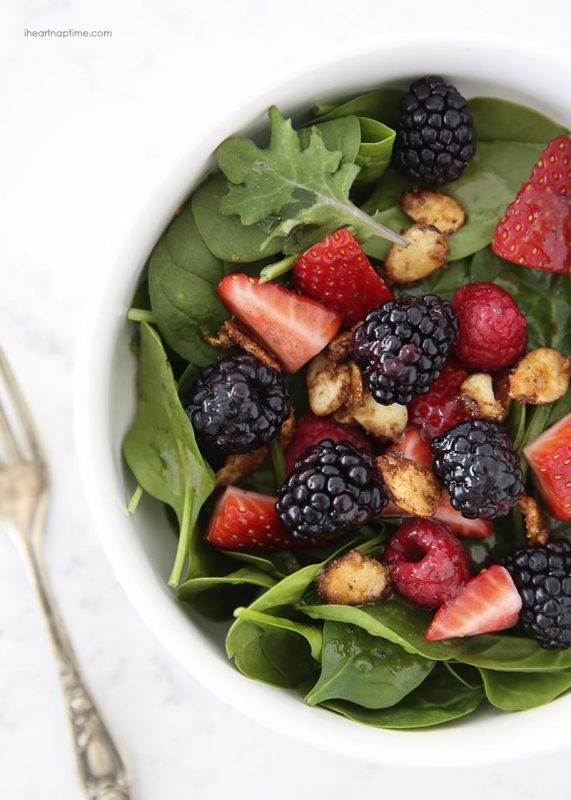
Who said berries were only meant for dessert? This delightful recipe from I Heart Nap Time tosses berries and fresh spinach together for a refreshing salad. Topped![]() with homemade cinnamon sugar almonds and a light poppy seed dressing, this salad is sure to please.
with homemade cinnamon sugar almonds and a light poppy seed dressing, this salad is sure to please.
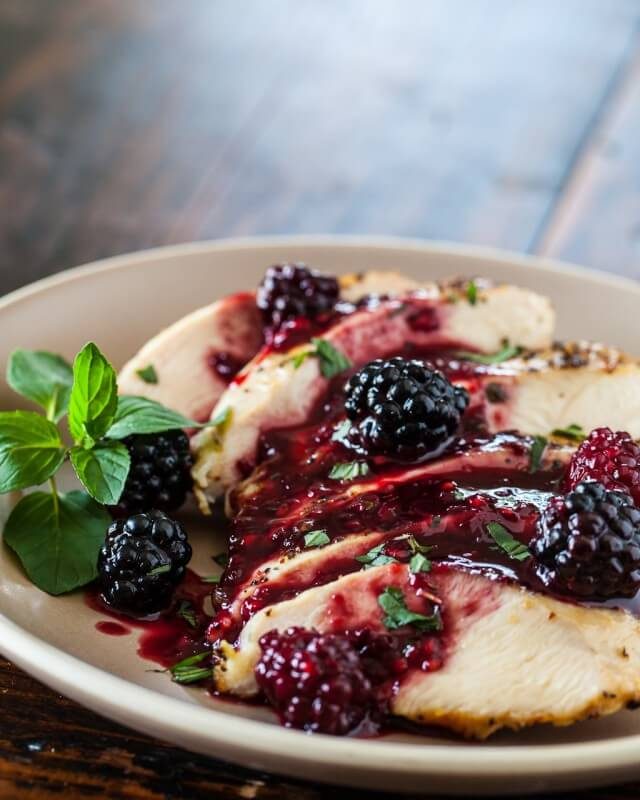
4. Grilled Chicken with Blackberry Sweet and Sour Sauce
Reminiscent of turkey and cranberry jam, this dish by Jaden at Steamy Kitchen will make you feel like you’re celebrating Thanksgiving in July. Featuring fresh blackberries and cognac, it’s great for weekday dinners, yet fancy enough to impress guests. Best of all, you can cook it in under 30 minutes.
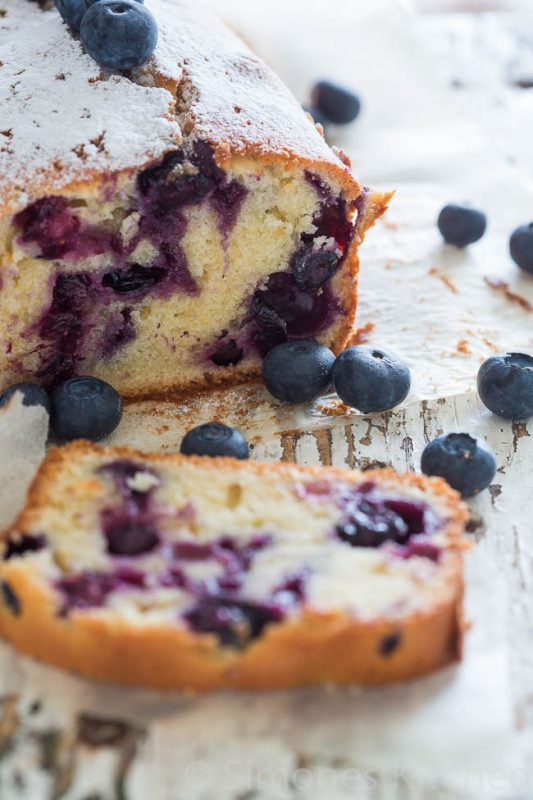
If berries and savoury dishes aren’t your thing, whet your appetite with this wholesome Blueberry Yoghurt Cake by Simone’s Kitchen. Greek yogurt and lemon zest complement the natural sweetness of blueberries perfectly, resulting in a dense loaf that’s rich in colour and taste.
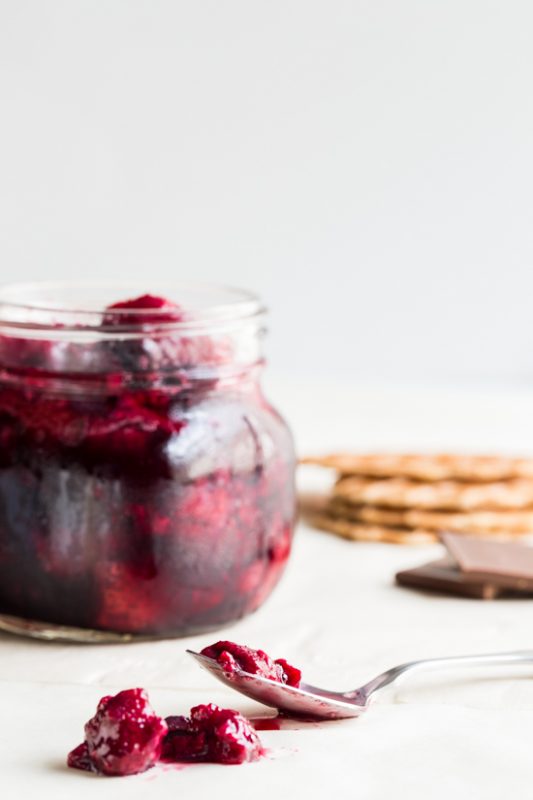
6. Roasted Berry Sauce With Cardamom
Psst, we’re going to let you in on a secret. Did you know that berries taste even better when they’re roasted? Emily Caruso of Jelly Toast Blog claims that roasting berries brings out their sweetness and intensifies the flavour. With such a convincing recipe, who’s to disagree? Have it drizzled over ice-cream, pancakes or s’mores.
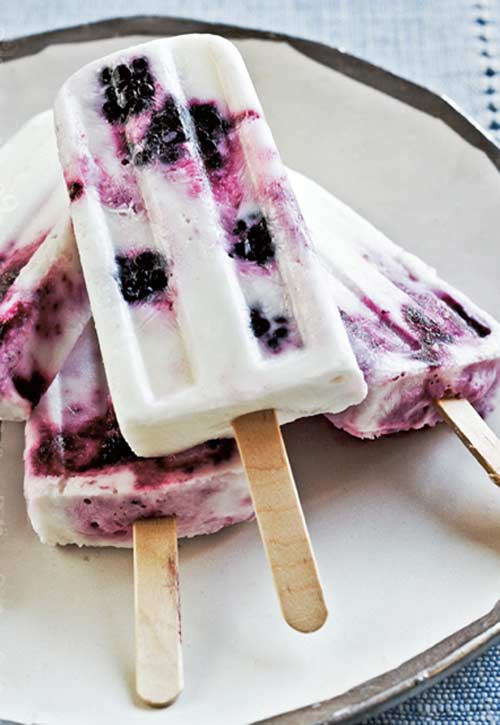
7. Yogurt Ice Pops With Berries
What could be better than a popsicle on a sweltering day? A yogurt ice pop of course! We love how simple and foolproof this recipe by Fany Gerson is. Perfect for an afternoon with the kids.
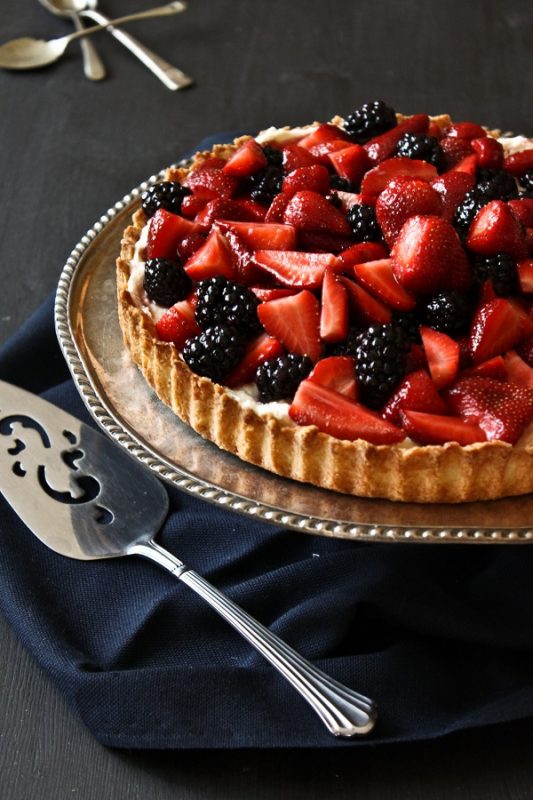
8. Berry Mascarpone Almond Tart
Did you really think we’d end this list without a classic berry tart? We reckon nothing encompasses the spirit of summer better than this stunner by What She’s Having. A sight to behold, this tart is as delicious as it is beautiful.
Here are some items from ToTT for your berrylicious adventures!
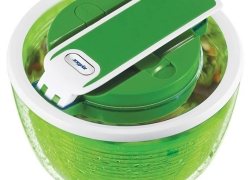
Zyliss Smart-Touch™ Salad Spinner
The award-winning Zyliss Smart Touch® Salad Spinner features fast-action pump dry technology, bringing fun and ease to salad preparation while cleansing greens, berries, and herbs of dirt and other impurities. The easy to use one-pump lever creates a smooth spinning action while delivering speed and yielding quick, effortless results. Eliminate watery salads and keep produce fresher and longer, with the use of this precision engineered and high-performing Zyliss Smart Touch® Salad Spinner.

PERLE Salad Servers 2-Pcs Gift Set
This PERLE Salad Servers Gift Set from Regent features generous bowls for serving salads, as well![]() as a variety of other foods. One of the bowls in this set has soft-edged prongs, creating a fork-like design. Made of high quality stainless steel with a high gloss polished finish, features a simple and elegant design that will mix well with your existing flatware pieces.
as a variety of other foods. One of the bowls in this set has soft-edged prongs, creating a fork-like design. Made of high quality stainless steel with a high gloss polished finish, features a simple and elegant design that will mix well with your existing flatware pieces.
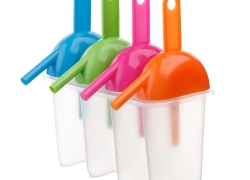
Plastic Ice Lolly Moulds, Set of 4
Keep the kids cool this summer with this wonderful set of eight ice lolly makers. Just add your favourite juice, fruit or yoghurt for a delicious and healthy snack that the whole family will love.
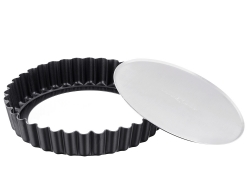
Pro Form Quiche/Tart Pan
Makes lovely tarts and quiches with a self-crimpled edge with this 10 inch quiche/tart pan from Nordic Ware. This pan has removable bottom, which makes for easy release and serving.


