Originated from Spain, this rustic cheesecake is the alter ego to the classic New York–style cheesecake with a press-in cookie crust. Inspired by a Basque version, this is the cheesecake that wants to get burnt, cracked, and cooked at high heat. Which also means this is the cheesecake that’s impossible to mess up.
Cuisine: Spanish Course: Dessert
Skill Level: Novice
Prep: 10 mins Cook: 35 mins
Ready in: 45 min Serves: 6 servings
INGREDIENTS:
- 430g cream cheese, room temperature
- 100g caster sugar
- 3 large eggs, room temp (approx 150g of eggs without shell)
- 270g heavy cream/thickened cream (35% min fat content)
- 20g cake flour
- 1 tsp vanilla extract
- 1 tsp lemon juice

DIRECTIONS:
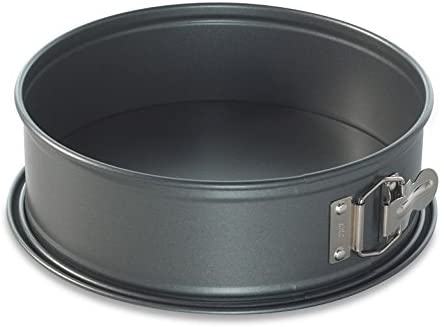
- Line 6” circle cake tin with 2 layers of baking paper and trimmed to have an overhanging amount of 1.5″-2″.
- Beat sugar and cream cheese together on medium until smooth. Scrape the bowl.
- Add eggs one at a time and beat on medium until smooth. Scrape the bowl again to ensure that nothing sticks to the sides for even mixing.
- Add the vanilla and lemon juice and beat until just mixed.
- In a separate bowl, mix flour and 1/4 of the cream and mix until smooth. Add another 1/4 more cream, mix, and then add the rest and mix until smooth. (Adding the flour a small amount at the time allows you to mix out any lumps that may form by creating a paste at the start.)
- Slowly pour the cream/flour mixture into the cheese mixture whilst the mixer is beating on low until mixed through. Increase speed to medium and mix for 15 seconds just to ensure it’s all combined.
- Preheat your oven on convection mode at 240C for at least 30mins and bake at 240C for 30-35mins until top is dark amber and almost charred at parts but the middles still has a wobble to them when you give the pan a jiggle.
- Let cool in the tin fully on a wire rack at room temperature to allow the cheesecake to set.
- Remove from the baking tin and enjoy at room temperature.
- For a less “gooey” center, place into the fridge after cooled to allow it to chill and set and serve cold.
- For a Caramel version, drizzle with caramel sauce and sprinkle crushed Biscoff biscuit over and serve.
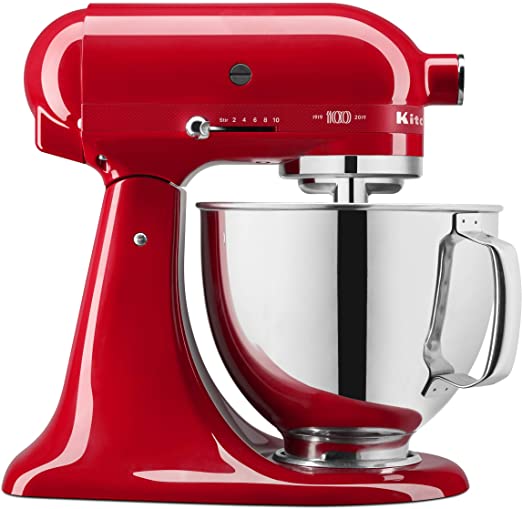
RECOMMENDED PRODUCTS: